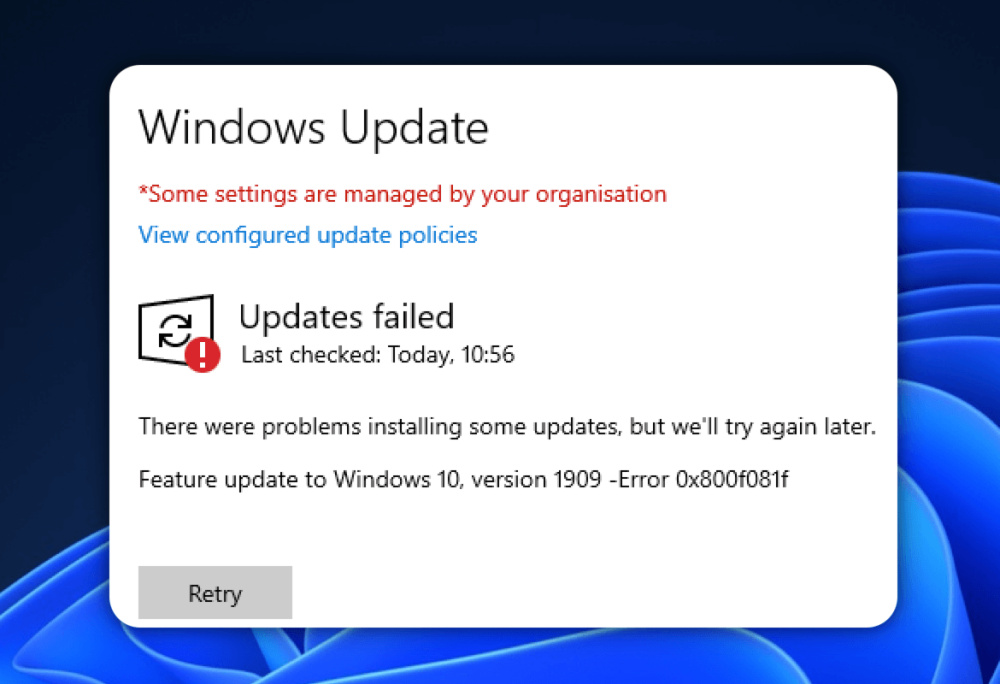
A cluttered Windows Update cache can cause failed updates, slow performance, or error codes like 0x8024402F or 0x80242006.
In this guide, we’ll explain what the Windows Update cache is, why clearing it matters and provide four proven methods to reset it.
1. What Is the Windows Update Cache?
The Windows Update cache is a temporary storage folder (C:\Windows\SoftwareDistribution\Download) where update files are stored before installation. Over time, corrupted or redundant files here can:
- Trigger update failures (e.g., error 0x8024402F).
- Waste disk space (up to 10–20GB in some cases).
- Slow down system performance due to fragmented data.
Why Clear It?
- Fix persistent update errors.
- Free up storage space.
- Ensure smooth future updates.
2. Clear the Windows Update Cache in File Explorer
Best For: Beginners.
Time Required: 5 minutes.
Steps:
1. Stop Windows Update Services:
- Press
Win + R, typeservices.msc, and hit Enter. - Right-click Windows Update > Stop.
- Repeat for Background Intelligent Transfer Service (BITS).
- Delete Cache Files:
2. Open File Explorer and navigate to: C:\Windows\SoftwareDistribution\Download
- Select all files (
Ctrl + A) and delete them. - Restart Services: Return to Services, right-click Windows Update and BITS, then select Start.
Note: If files won’t be deleted, restart your PC in Safe Mode and repeat.
3. Clear Windows Update Cache via Command Prompt
Best For: Advanced users.
Tools Needed: Admin privileges.
Step 1: Open Command Prompt as Admin
- Press
Win + S, typecmd. - Right-click Command Prompt > Run as administrator.
- Click Yes if prompted by User Account Control (UAC).
Step 2: Stop Windows Update Services
Run these commands in order:
net stop wuauserv
net stop cryptSvc
net stop bits
net stop msiserver
Note: Ignore “service not running” errors.
Step 3: Rename Cache Folders
ren C:\Windows\SoftwareDistribution SoftwareDistribution.old
ren C:\Windows\System32\catroot2 catroot2.old
Step 4: Restart Services
net start wuauserv
net start cryptSvc
net start bits
net start msiserver
Step 5: Restart Your PC
shutdown /r /t 0
Post-Check
- After reboot, go to Settings > Windows Update > Check for updates.
- Windows will rebuild the cache automatically.
Troubleshooting Tips
If folders can’t be renamed:
Ensure all services are stopped (Step 2).
Retry in Safe Mode (press
Shift + Restartduring boot).To delete old backups:
Manually remove
SoftwareDistribution.oldandcatroot2.oldafter confirming updates work.
4. Clear Windows Update Cache Using Disk Cleanup
Best For: Quick partial cleanup.
Limitation: Don’t remove all cached files.
Steps:
- Press
Win + S, type Disk Cleanup, and open it. - Select your system drive (usually C:) and click OK.
- Check Windows Update Cleanup and Temporary files.
- Click OK > Delete Files.
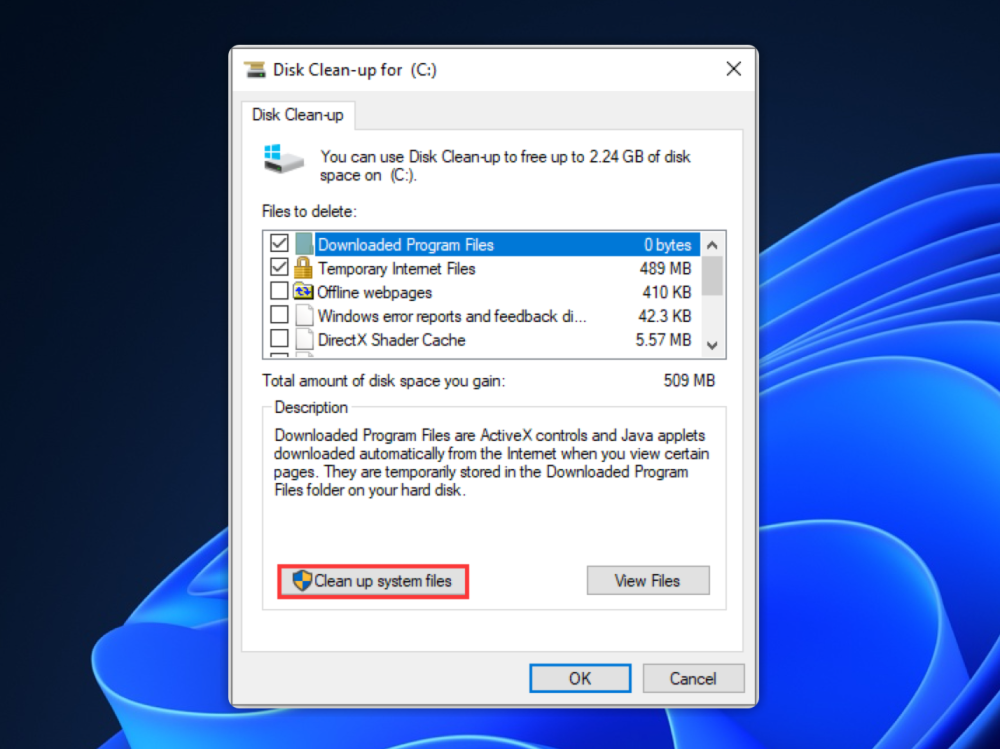
Note: This method may not remove all update cache files but can help free up some space.
5. FAQs About Windows Update Cache
Is clearing the Windows Update cache safe?
Yes, clearing the update cache is safe. Windows will recreate the necessary files upon the next update.
Will I lose installed updates?
No. Installed updates remain unaffected.
How often should I clear the Windows Update cache?
It’s not necessary to clear the update cache regularly. Only do so if you’re experiencing update issues or need to free up disk space.
What if I can’t delete the “Download” folder?
Ensure all update services are stopped (see Method 2) or use Safe Mode.
Does clearing the cache speed up my PC?
Indirectly – it frees up disk space and resolves update-related slowdowns.
Will clearing the update cache delete my personal files?
No, clearing the update cache will not affect your personal files. It only removes temporary update files.
What should I do if clearing the update cache doesn’t resolve my update issues?
If issues persist, consider resetting the Windows Update components or using the Windows Update Troubleshooter.
Final Words
Clearing the Windows Update cache is a simple yet powerful fix for stubborn update issues. For most users, Method 1 (File Explorer) or Method 4 (Disk Cleanup) will suffice. Advanced users can leverage Command Prompt for a deeper reset.
Pro Tip: After clearing the cache, run Windows Update Troubleshooter (Settings > Update & Security > Troubleshoot) to automate error detection.
Need more help? Visit Microsoft’s Support Page for official guidance.